How to Make a Face Mosaic in 90 Seconds
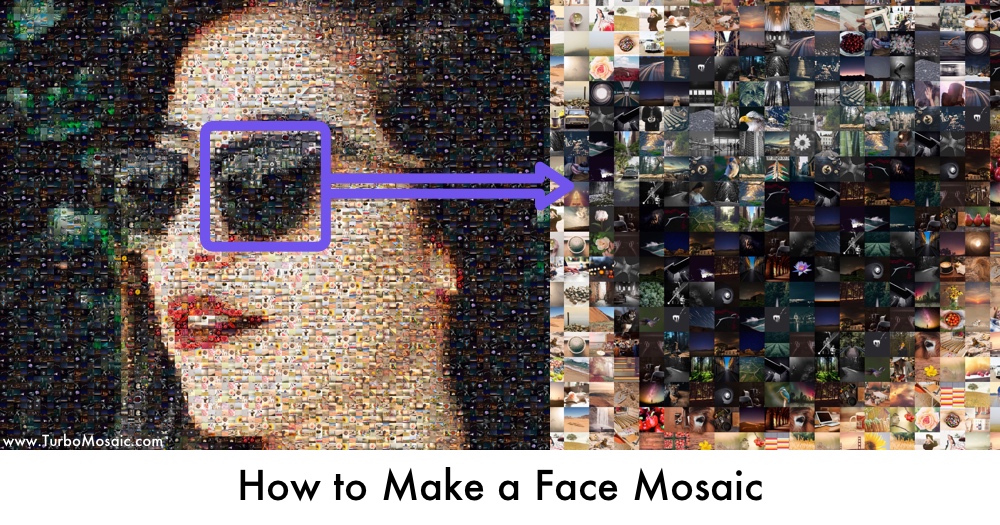
Have you seen those fantastic face photo mosaics made using photo tiles?
It must be challenging and expensive to make one, right? — Wrong!
This post will show you how to make a personalized face mosaic using your pictures.
No design experience or expertise is needed!
How to Make a Mosaic Face
Before we get started, download and install TurboMosaic. It takes less than a minute to download and complete the installation.
The following steps are demonstrated in a short video later in this post.
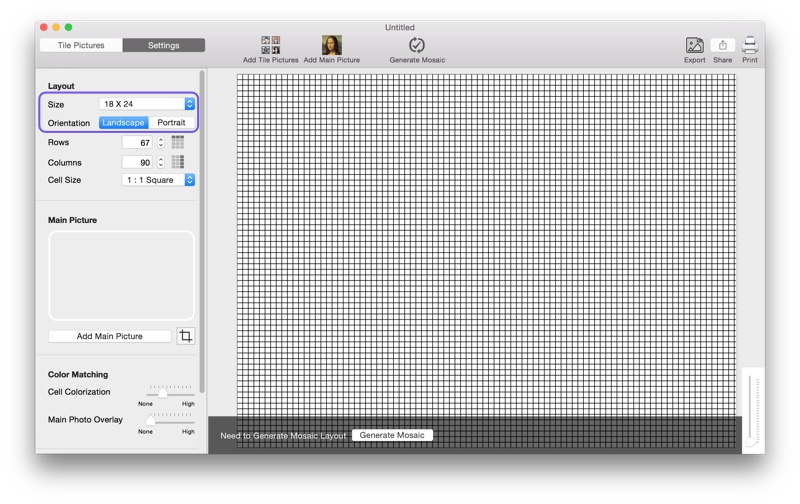
1. Open TurboMosaic and select a Size & Orientation for your photomosaic.
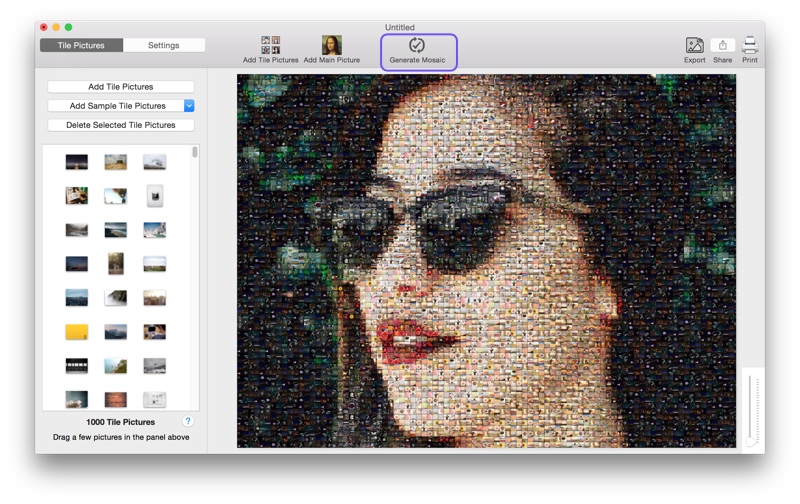
2. Add a picture with a face as the main picture.
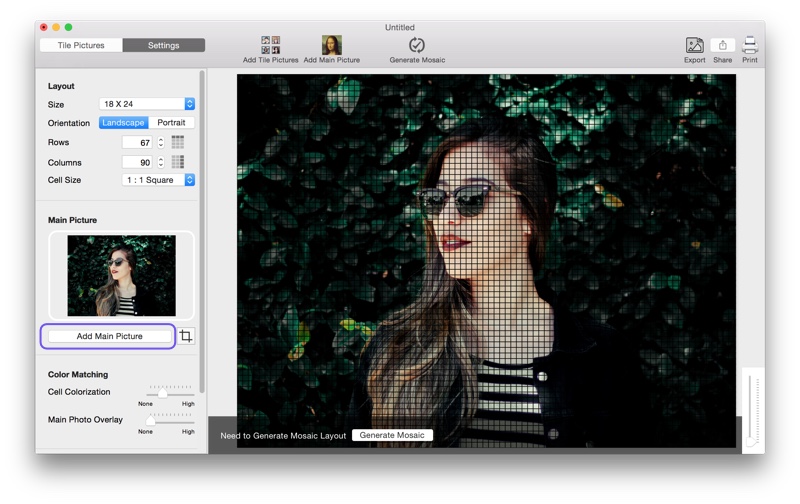
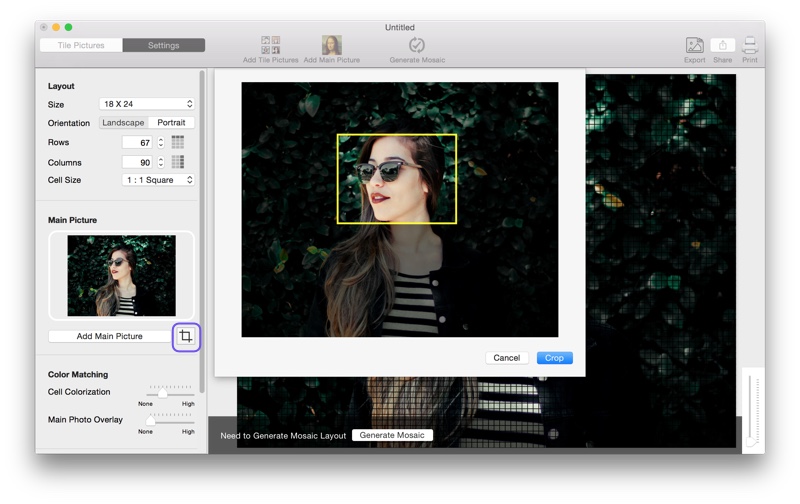
3. Crop the main image to make the face more prominent.
4. Add smaller pictures used as tiles in the face mosaic.

5. Generate your face mosaic.