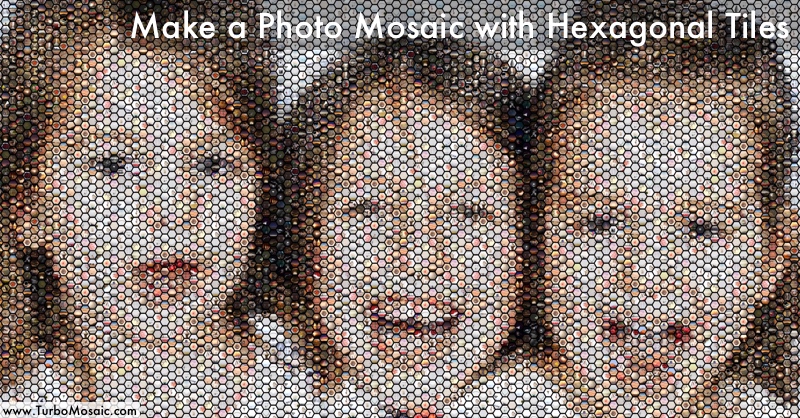
How to Make a Mosaic with Hexagonal Tiles
Everyone has seen a mosaic with rectangular tiles, but have you seen one with hexagonal tiles?
Do you know that you can quickly make a photo mosaic with hexagonal tiles using your pictures?
We will take you through a few simple steps to make such a photo mosaic in this post.
In the end, there’s a short video that demonstrates these steps in action.
Steps to Make a Photo Mosaic with Hexagonal Tiles:
Before we get started, download and install TurboMosaic. It takes less than a minute to download and complete the installation.
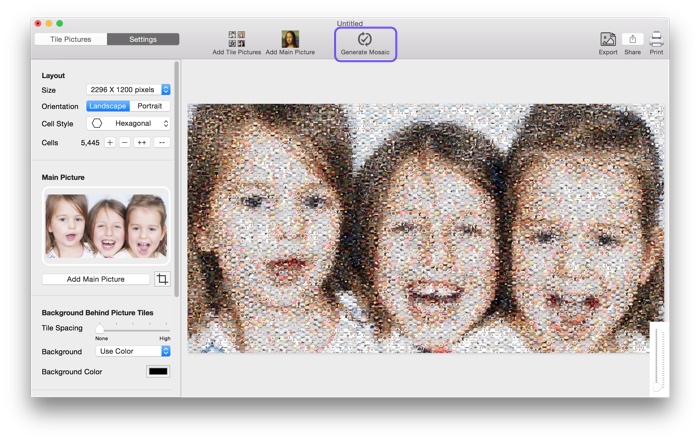
1. Open TurboMosaic and select a size for your photo mosaic. You can choose a size from a list of default sizes or create any custom size.
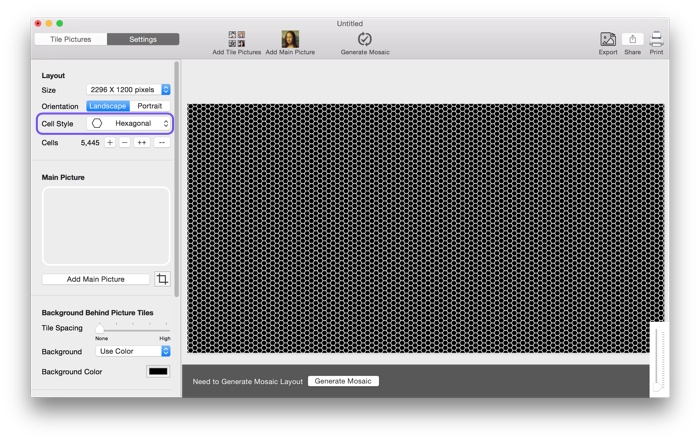
2. Select Hexagonal Cell Style as shown in the following screenshot:
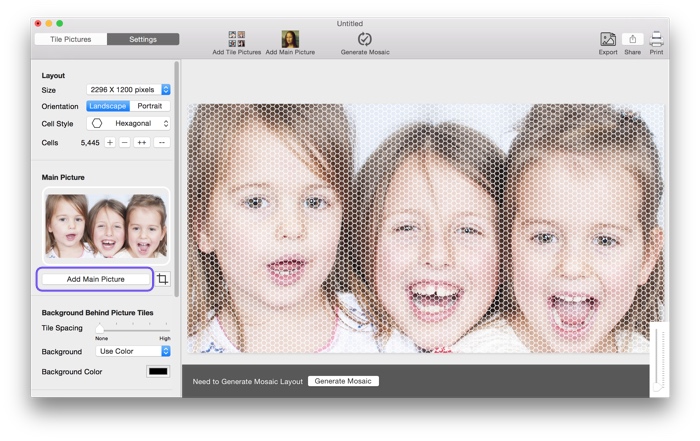
3. Select the Main Picture for your mosaic. In this example, we will use a picture of kids, as shown in the following screenshot:
4. Add Pictures that will be utilized as hexagonal tiles in your mosaic.

5. Generate mosaic.